To add a template, first click on the Templates tab, and then click the Add button. If you already know which structure this template is associated with, you can create the template by clicking the Structures tab, finding the associated structure, and then clicking the Add Template icon (
 ). Both examples are shown below.
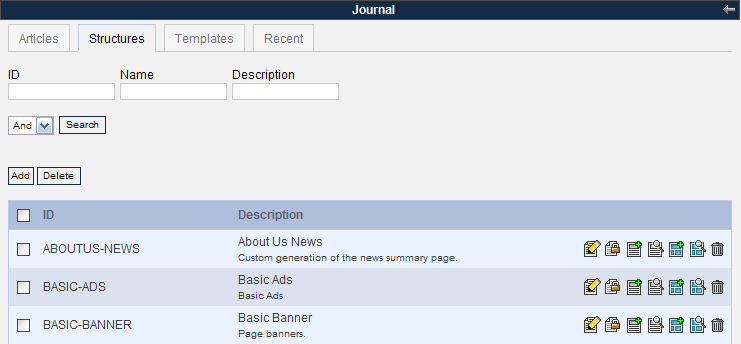
The template creation page appears. Give your template an ID or have it auto-generate one. Refer to step 2 of section 3.2.1 for template ID recommendations. Template IDs must be unique.
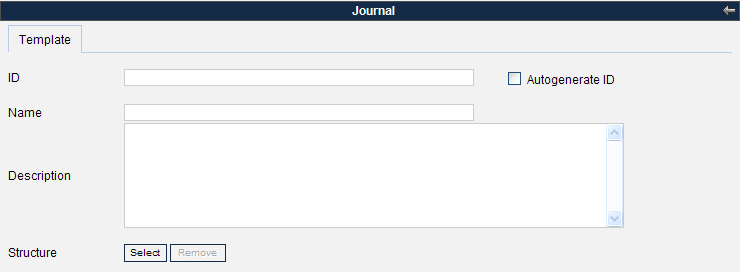
Give your template a clear name and description because these fields are also used for identification of the template.
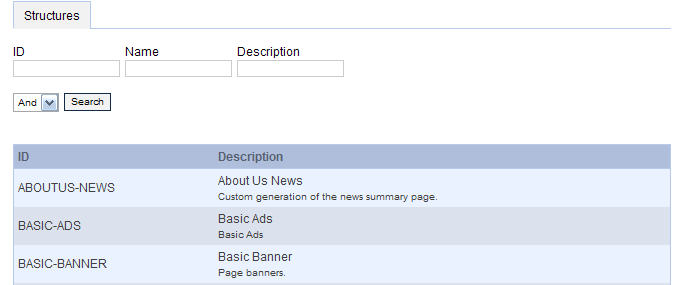
Since articles have to select a structure before choosing a template (further described in section 3.4.1.), all created templates have to be associated with a structure. If you have already associated this template to a structure, the structure name will appear in the Structure field. Otherwise, click the Select button to find the structure that this template will be associated with. This will open up a screen with all the structures. Click on a structure to associate with the template.
To edit the actual template layout content, you can use one of two methods. To start a completely new template, click the Launch Editor button to open up the editor shown below.

If you have an existing template on your local machine, click the Browse button to search for the file, and load that file as the code for this template.

Note that you can choose the template to be in either XSL or VM format, so a working knowledge of one of these is required for creating templates. One way to make simple templates is to look at the existing templates that Liferay provides out-of-the-box and follow the syntax. If the template is loaded from your local machine, make sure you choose the correct language type in the menu.
If you want a small image to represent the template in the description field, you can link the image URL or upload it from your local machine. Be sure to select Yes in the menu in the “Use Small Image" field.
Click Update when you are finished creating your template. If no error messages appear, the template has been created and can be used as layouts for articles.
To edit an existing template, go to the Templates tab. You will see a list of existing templates with pagination and an area to search for templates by ID, name, and/or description. You can use either method to locate the template you want to edit. Before editing the actual template, it is advisable to view the associated articles because their layout will be affected by any changes made to your structure. After editing the template, you can view these articles with the new template layout. You can click on the View Articles icon (
 ) to view associated articles. When you
are done viewing associated articles, find the template again
using either method above, and then click on the Template ID,
description, or the Edit icon
(
) to view associated articles. When you
are done viewing associated articles, find the template again
using either method above, and then click on the Template ID,
description, or the Edit icon
( ) to enter the editing screen, shown
below.
) to enter the editing screen, shown
below.In the edit screen, you can edit anything in the template except for the template ID, which can not be changed once the template has been created.
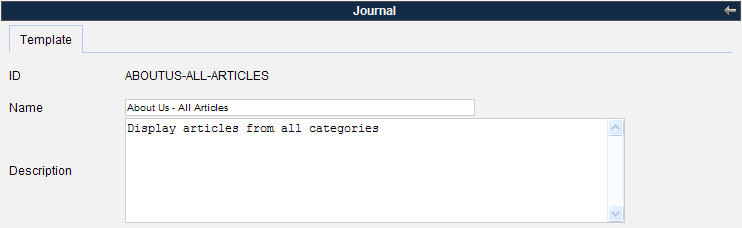
Editing the name and description will not affect any other features of the Journal portlet but modifying the script will affect the articles that are associated with the template. It is advisable to backup the current XSL or VM file by clicking the Download button so that it will be easy to revert to your old template script if necessary. To prevent unexpected behavior in the design, it is advised that only users with good working knowledge of XSL or VM modify these scripts.
When all changes to the template have been made, click the Save button to save your changes.
To delete a template, you must first disassociate or delete all articles associated with that template. First search for the template you wish to delete using the same instructions from step 1 of section 3.3.2. To disassociate/delete all the articles, click the View Articles icon (
). A view of all associated articles will
be displayed.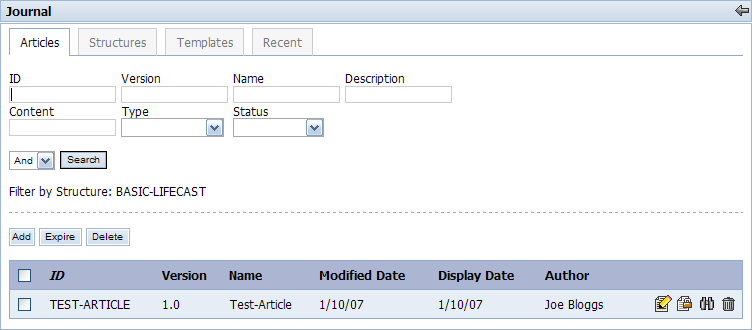
To delete an article, click the Delete icon (
 ) next to the article you wish to delete.
To edit an article, begin by clicking the Edit icon () next to each article. Inside the edit
article screen, change the template by using radio buttons. If
there are no other templates associated with the structure used,
you must either create a new template for that structure or
delete this article. Click the Save button when you have selected a new
template for the associating article.
) next to the article you wish to delete.
To edit an article, begin by clicking the Edit icon () next to each article. Inside the edit
article screen, change the template by using radio buttons. If
there are no other templates associated with the structure used,
you must either create a new template for that structure or
delete this article. Click the Save button when you have selected a new
template for the associating article.Once all articles have been disassociated from the template, search for the template again in the Templates tab, then click the Delete icon (
) next to that template.